Building A To-do Api Using Django Rest Framework
A SIMPLE STEP BY STEP PROCESS ON HOW TO BUILD AN API


Building an API for the first time can be very confusing especially, for a beginner in Backend Programming. In this article, we'll be explaining what APIs are and also outlining the step-by-step process of building one successfully.
What is an API?
An API is an Application Programming Interface. It is a set of rules that allow programs to talk to each other. Developers create API on the server and allow the client/frontend to talk to it. In simple terms, API means a software code that can be accessed or executed.
REST determines how the API is going to look like. It stands for “Representational State Transfer”. REST consists of a set of instructions that the developer has to follow when they are developing API. One of these rules states that you should be able to get a piece of data when you click on a URL. Each URL is called a request while the data sent back to you is called a response.
Why Rest API?
Before we get to the main development part, it’s worth considering why would you want to build an API. If someone had explained these basic concepts to me before I started, I would have been so much better off.
A REST API is a standardized way to provide data to other applications. These applications can then use the data however they want. Sometimes, APIs also offer a way for other applications to make changes to the data.
These are a few key options for a REST API request:
GET — The most common option, returns some data from the API based on the endpoint you visit and any parameters you provide.
POST — Creates a new record that gets appended to the database.
PUT — Looks for a record at the given URI you provided. If the exists, update the existing record. If not, create a new record.
DELETE — Deletes the record at the given URI
For this article, we'll be using the Django Rest Framework to build out API because it is convenient in many ways and easy to understand.
Step by Step process for creating a REST API in Django.
The steps to follow in building our API using Django Rest Framework are;
Set-Up Virtual Environment.
Set-Up Django
Create a model for the database that the Django ORM will manage.
Set-Up Django Rest Framework
Serialize the model data from step 3
Create the URI endpoint to view the serialized data.
It seems pretty straightforward, so let's start building our API
1. Set-Up Virtual Environment
To start a new application first we have to set up a virtual environment, it helps to separate the various dependencies of the different projects.
Make a Directory on the Desktop using the command prompt by running this command.
mkdir ToDo-API
Now we can move into that directory by running the following command.
cd ToDo-API
Go ahead and Install the virtualenv package.
pip install vitualenv
Now, within the ToDo-API directory, you can create a Python virtual environment by typing:
virtualenv myenv
This will create a directory called myenv within ToDo-API directory.
Before you install the Python requirements for your project, activate the virtual environment
We can do this by typing:
source myenv/bin/activate
Our command prompt should change to indicate that we are now operating within a Python virtual environment. It will look like this:
(myenv) C:\<directory path\>
2. Set-Up Django
Now, inside this virtual environment, we are going to install Django and other requirements.
We can install Django by typing:
pip install django
Now, let’s create a new Django project:
django-admin startproject <project-name>
For this tutorial, we'll keep <project-name> as TODO. Now, our directory structure would look like this:
ToDo-API
     |- TODO
     |- myenv
And if we look inside the TODO folder, there’s everything we need to run a Django application.
ToDo-API
     |- TODO
             |- manage.py
             |- TODO/*
     |- myenv
Open this directory ToDo-API in your favorite IDE/Editor, for me, I prefer to use Sublime Text.
After opening, switch to your command prompt and make sure it works. You can test run the Django Server by Running:
python manage.py runserver
Watching for file changes with StatReloader
Performing system checks...
System check identified no issues (0 silenced).
You have 17 unapplied migration(s). Your project may not work properly until you apply the migrations for app(s): admin, auth, contenttypes, sessions.
Run 'python manage.py migrate' to apply them.
May 17, 2019 - 16:09:28
Django version 2.2.1, using settings 'mysite.settings'
Starting development server at http://127.0.0.1:8000/
Quit the server with CONTROL-C.
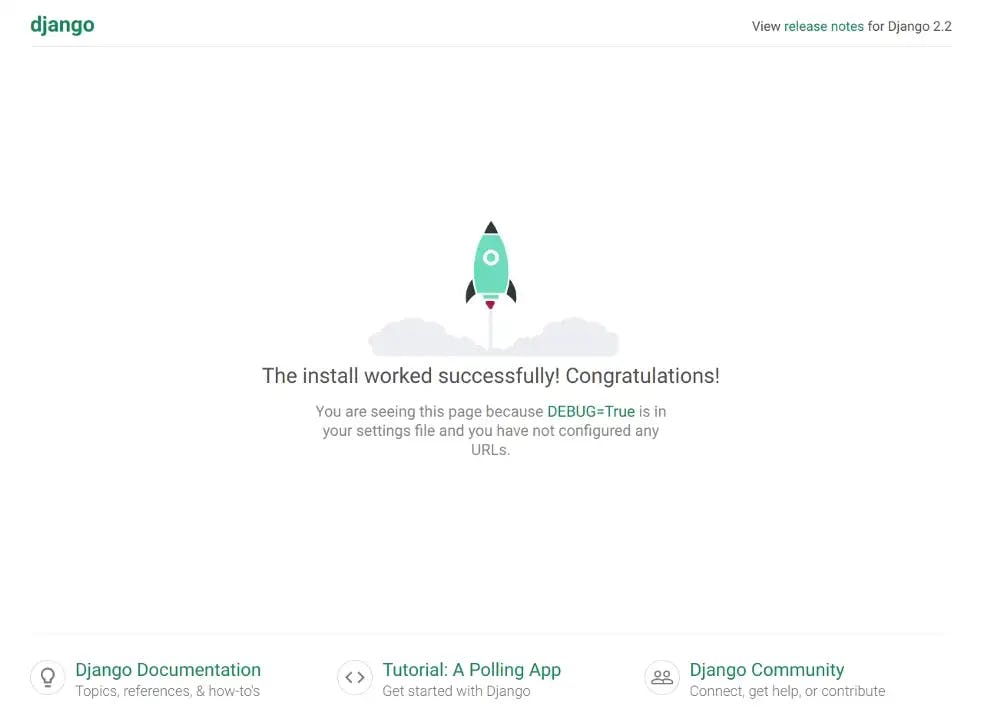
On your browser, go to http://127.0.0.1:8000 or localhost:8000 and you should see the Django welcome screen.
A Django project is a collection of various apps, every app serves a different feature of our project.
2.1 Creating the first app
It is the best practice is to separate your Django project into different apps when you build something new.
So, let’s create the first app:
python manage.py startapp <app-name>
for this article let’s consider the app-name will be API.
After running the above command you will see the directory structure something like this:
ToDo-API
     |- TODO/*
     |- myenv/*
     |- API/*
2.2 Register the API app in the TODO project settings file
We successfully created the first app but at this time Django is unaware of this app, so we need to tell Django to recognize this new app that we just created. For telling Django about the new app we are going to make changes inside the todo-drf/settings.py file.
Inside the todo-drf/settings.py file, we have to register the API app within Installed_Apps array.
INSTALLED_APPS = [
    'api.apps.ApiConfig',
    ... # Leave all the other things same
]
2.3 Migrate the database
When we change/create something new inside models, we need to tell Django to make that changes to the main database by migrating those changes to the database.
So, By running the following commands we can migrate those initial setups:
python manage.py makemigrations
python manage.py migrate
2.4 Create Super User
One more before moving to the main API.
It would be great for us if we have access to the Django Admin Interface, for this let’s create a user.
python manage.py createsuperuser
Username (leave blank to use 'Melody'):
Email address: adminAPI@gmail.com
Password:
Password (again):
Superuser created successfully.
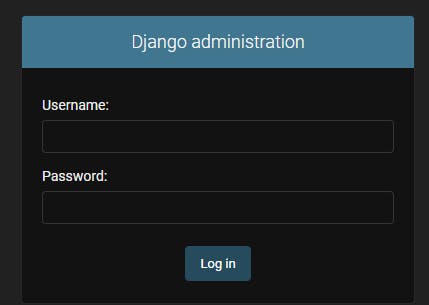
to verify it, start up the Django development server, and navigate to localhost:8000/admin
python manage.py runserver
Now some of you might be wondering, who built this?
So, for your information that’s why Django is amazing because it provides a prebuild admin interface and User Model.
The Django admin interface helps us to view the database tables, edit objects, delete objects, and create new objects.
3. Create a model in the database for the ToDo application that the Django ORM will manage.
Now, we are going to make our first model!
we’ll build it in our API/models.py file, so open up that file.
from django.db import models
# Create your models here.
class Task(models.Model):
    title = models.CharField(max_length=200)
    completed = models.BooleanField(default=False, blank=True,       null=True)
    objects = models.Manager()
    def __str__(self):
        return self.title
Here title is CharField where we can store Strings, and completed is BooleanField where we can only store True or False .
__str__ is a special method of python to determine what to print when it needs to print out an instance of the Task model.
3.1 Make Migrations
Whenever we define or change a model, we need to tell Django to reflect those changes into the database by migrating them.
python manage.py makemigrations
python manage.py migrate
3.2 Register Task model with admin panel
Remember, that admin interface for which we created superuser to access the admin panel. Now register Task model with admin so we can perform some basic operations.
Right now, Django admin doesn’t know the Task model, but with two lines of code we can tell the admin about Task .
Open api/admin.py and make it look like this.
from django.contrib import admin
from .models import Task
admin.site.register(Task)
Now run the Django server and navigate to localhost:8000/admin:
python manage.py runserver
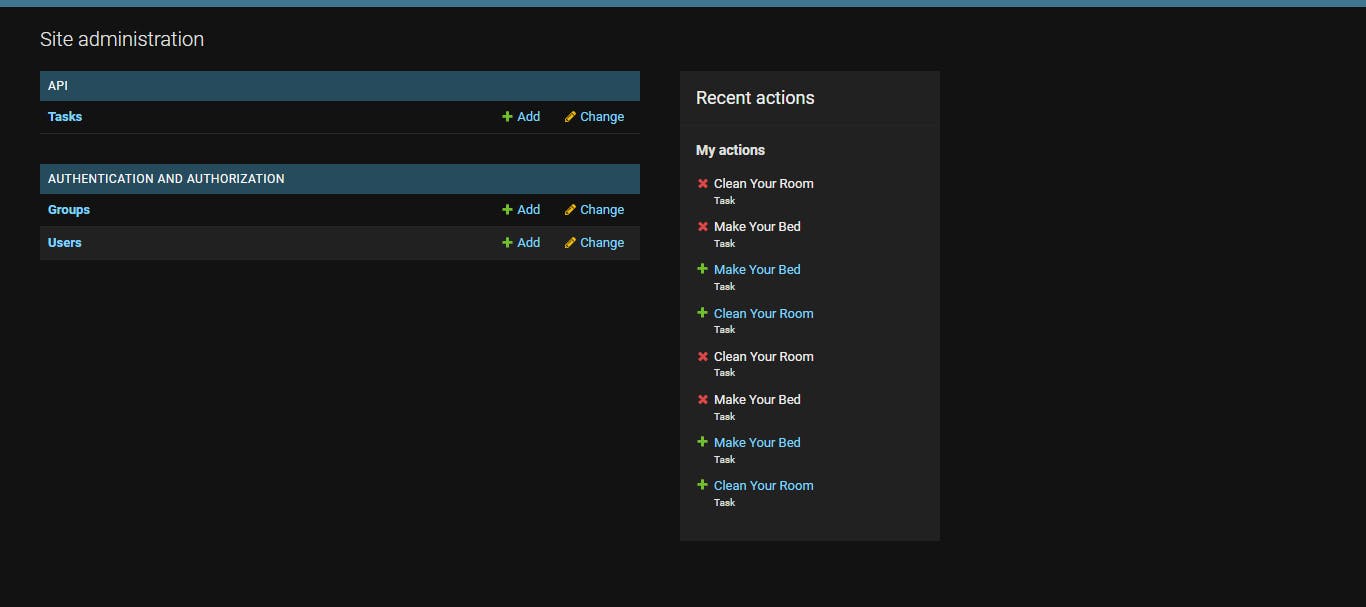
as we can see in the image above under recent actions, some tasks have been created before and deleted. But since our Task model right now is empty, let’s create some tasks from the admin site to play around with the application.

4. Set Up the Django Rest Framework
Now, it’s time to Set-Up the Django Rest Framework and serialize the data from our database via endpoints.
To do so let’s first install Django Rest Framework:
in your command prompt, run:
pip install djangorestframework
Now, we need to tell the Django that we installed the REST Framework in ToDo/settings.py.
INSTALLED_APPS = [
    # All your installed apps stay the same
    ...
    'rest_framework',
]
Now, we are ready with the REST Framework Set-Up.
5. Serialize the model from step-3
Now, let’s start to dive deep into the serialization part of the data. We need to tell the REST Framework about our Task model and how to serialize it.
To do so, let’s create a new file API/serializers.py.
In this new file we have to do a few things:
import our models
import serializer from REST Framework
Create a new class that links the
Taskwith its serializer.
Here is how it looks:
# serializers.py
from rest_framework import serializers

from .models import Task

class TaskSerializer(serializers.ModelSerializer):
    class Meta:
        model = Task
        fields = '__all__'
6. Display the data
Now, all we have to do is bind the URLs and views to display the data!
6.1 Display API Overview
From the root URL of our API, we are going to display an overview of the API endpoint.
Change API/views.py:
from rest_framework.decorators import api_view
from rest_framework.response import Response
from .serializers import TaskSerializer
from .models import Task
"""
API Overview
"""
@api_view(['GET'])
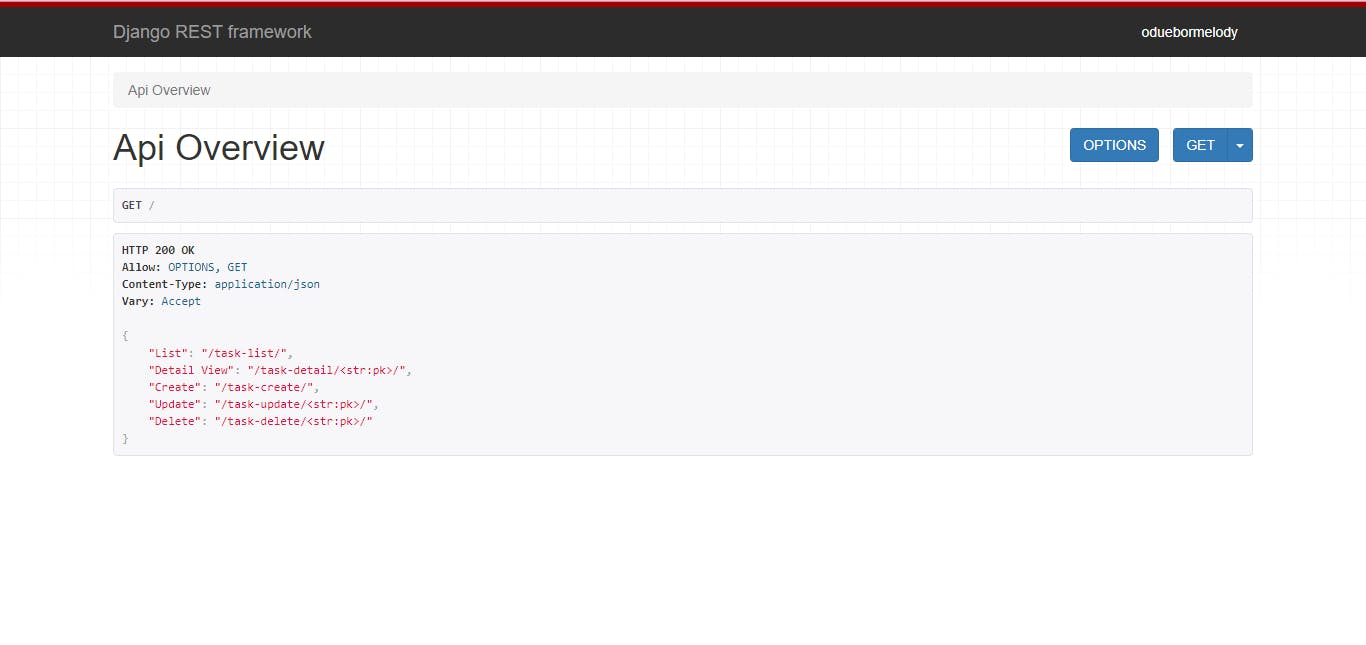
def apiOverview(request):
api_urls = {
'List' : '/task-list/',
'Detail View' : '/task-detail/<str:pk>/',
'Create' : '/task-create/',
'Update' : '/task-update/<str:pk>/',
'Delete' : '/task-delete/<str:pk>/',
}
return Response(api_urls)
Now it’s time to add URLs
Site URLs
In Django, URLs are resolved at the project level first. So there’s a file in the ToDo directory called urls.py
# ToDo/urls.py
from django.contrib import admin
from django.urls import path, include

urlpatterns = [
    path('admin/', admin.site.urls),
    path('', include('API.urls')),
 ]
Now, we are telling Django to send every request related to API app into api/urls.py.
API URLs
Let’s modify our API/urls.py file by adding a URLs endpoint.
from django.urls import path
from . import views
urlpatterns = [
    path('', views.apiOverview, name="api-overview"),
  ]
Now let's run the server and go to localhost:8000/api/
6.2 Views/Display all data
First, start with the API/views.py
To do so, we need to:
Query the database for all Tasks.
Pass that database query-set into the serializer we just created, so that it generates JSON format and render it.
API/views.py
from rest_framework.decorators import api_view
from rest_framework.response import Response
from .serializers import TaskSerializer
from .models import Task
"""
Below Function going to display all the tasks store in the data base.
"""
@api_view(['GET'])
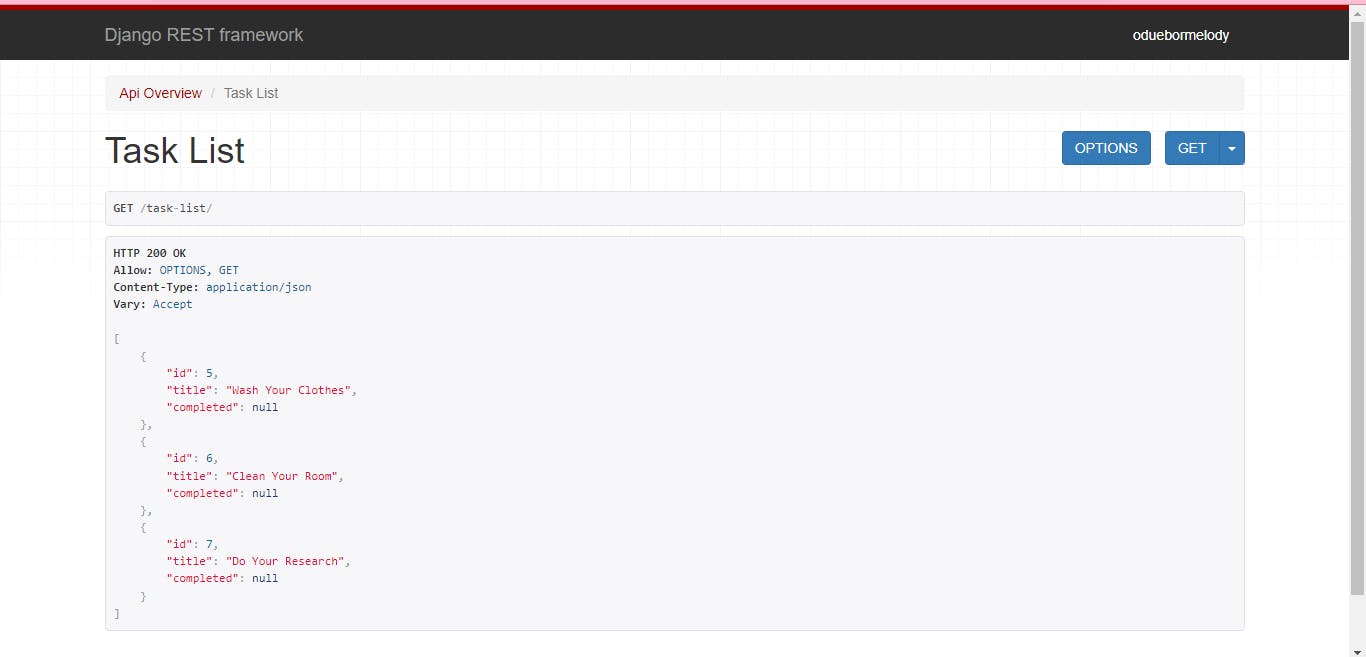
def taskList(request):
tasks = Task.objects.all()
serializer = TaskSerializer(tasks, many = True)
return Response(serializer.data)
API URL
Now save the views.py file and it’s time to bind this function with URL endpoint in api/urls.py.
from django.urls import path
from . import views
urlpatterns = [
    path('', views.apiOverview, name="api-overview"),
    path('task-list/', views.taskList, name="task-list"),
  ]
After saving the file check whether the server is running or not, if it is running then visit localhost:8000/api/task-list/. Otherwise, start the server and visit the URL.
6.3 Views/Display single Task
We've successfully displayed all Tasks from the database!!!
let’s return a single Task from the database depending upon the id of the task which is passed by the user in URL as a parameter.
API/views.py
"""
This Function going to display Detailed view of one perticuler task with the help of pk.
"""
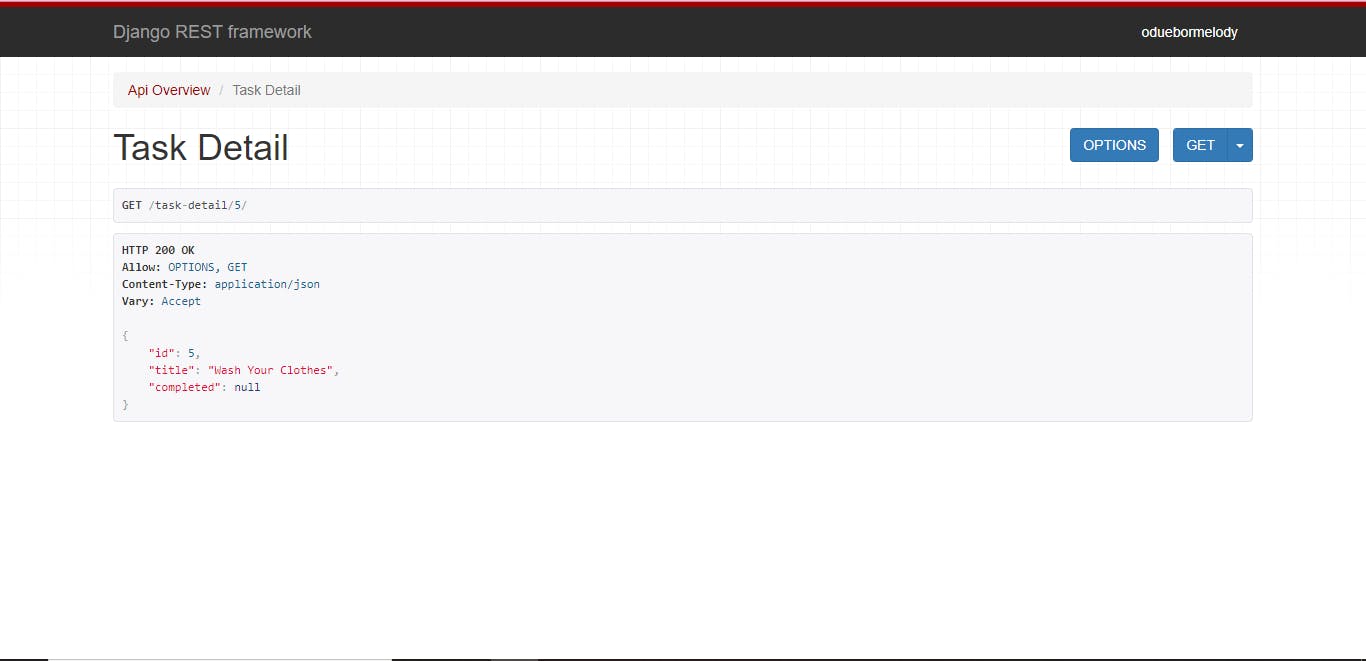
@api_view(['GET'])
def taskDetail(request, pk):
tasks = Task.objects.get(id=pk)
serializer = TaskSerializer(tasks, many = False)
return Response(serializer.data)
API URL
from django.urls import path
from . import views
urlpatterns = [
    path('', views.apiOverview, name="api-overview"),
    path('task-list/', views.taskList, name="task-list"),
    path('task-detail/<str:pk>/', views.taskDetail, name="task-Detail"),
  ]
Save both files which we edited, and visit localhost:8000/API/task-detail/<id>.
6.4 Views/Update an existing Task
Now we are able to display the list of Tasks and one single Task depending upon the id input by the user in URL as a parameter.
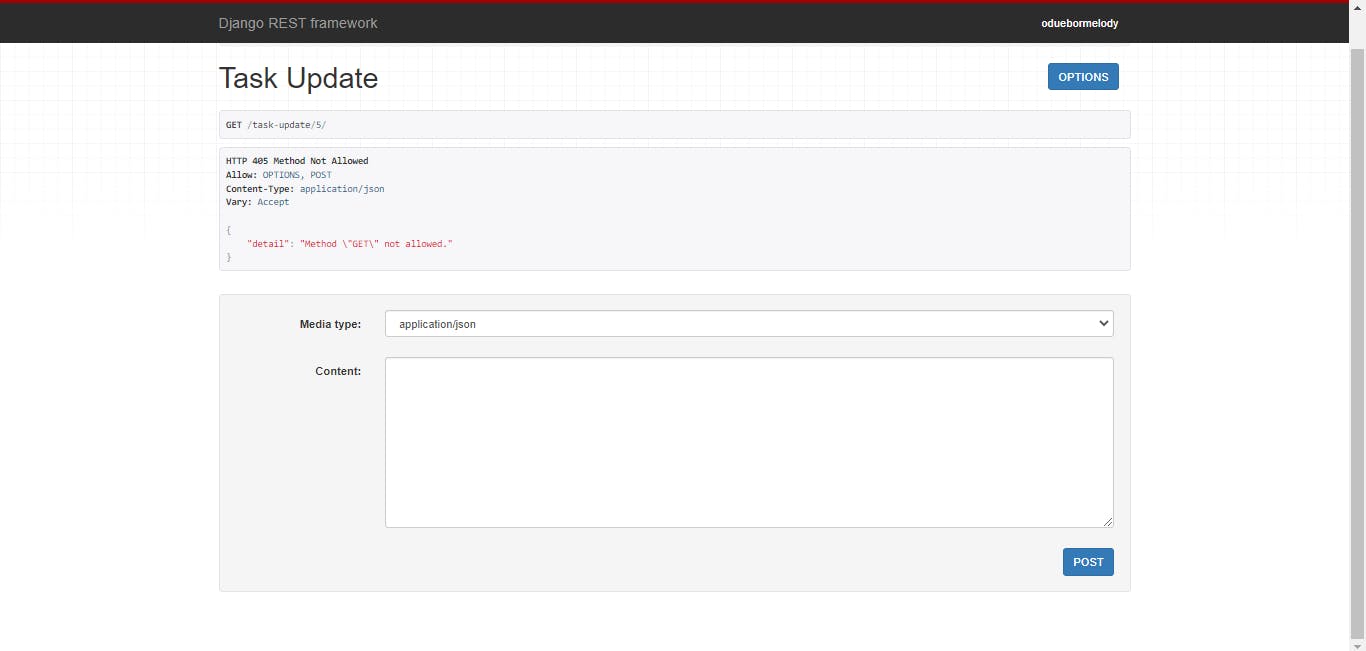
Now let’s try to Update a single Task with respect to the id entered by the user in the URL.
API/views.py
@api_view(['POST'])
def taskUpdate(request, pk):
    task = Task.objects.get(id = pk)
    serializer = TaskSerializer(instance=task, data=request.data)
    if serializer.is_valid():
        serializer.save()
    return Response(serializer.data)
API URL
from django.urls import path
from . import views
urlpatterns = [
    path('', views.apiOverview, name="api-overview"),
    path('task-list/', views.taskList, name="task-list"),
    path('task-detail/<str:pk>/', views.taskDetail, name="task-Detail"),
    path('task-update/<str:pk>/', views.taskUpdate, name="task-update"),
  ]
6.5 Views/Creating a new Task
Our API is looking good so far, but now it’s time to make our API capable of creating a new Task.
For creating a new task we send a POST request from the URL endpoint to our API.
API/views.py
@api_view(['POST'])
def taskCreate(request):
    serializer = TaskSerializer(data=request.data)
    if serializer.is_valid():
        serializer.save()
    return Response(serializer.data)
API URL
from django.urls import path
from . import views
urlpatterns = [
    path('', views.apiOverview, name="api-overview"),
    path('task-list/', views.taskList, name="task-list"),
    path('task-detail/<str:pk>/', views.taskDetail, name="task-Detail"),
    path('task-update/<str:pk>/', views.taskUpdate, name="task-update"),
    path('task-create/', views.taskCreate, name="task-Create"),
  ]
Now we can create a new task on localhost:8000/api/task-create/.

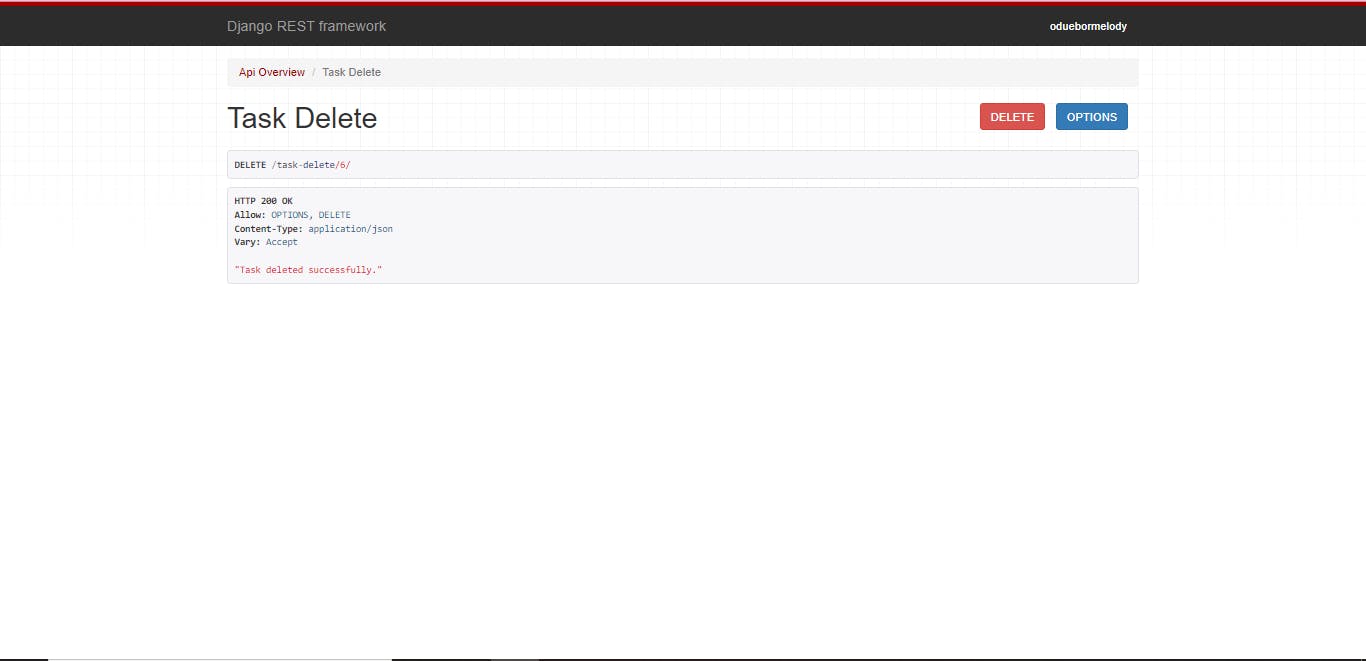
6.6 Views/Delete existing Task by ID
So far so good. Now we are left with only one operation to perform in the database.
Now, we have to delete an existing task depending upon Id passed by the user in the URL as a parameter.
API/views.py
@api_view(['DELETE'])
def taskDelete(request, pk):
    task = Task.objects.get(id = pk)
    task.delete()
    return Response("Task deleted successfully.")
Now we are ready to delete an existing task with respect to ID. Just one step away to the final completion, i.e. Setting delete URL.
API URL
from django.urls import path
from . import views
urlpatterns = [
    path('', views.apiOverview, name="api-overview"),
    path('task-list/', views.taskList, name="task-list"),
    path('task-detail/<str:pk>/', views.taskDetail, name="task-Detail"),
    path('task-update/<str:pk>/', views.taskUpdate, name="task-update"),
    path('task-create/', views.taskCreate, name="task-Create"),
    path('task-delete/', views.taskDelete, name="task-delete"),
]
visit localhost:8000/api/task-delete/<id> to delete any task.
With this, you've just built a To Do API using Django Rest Frame Work. I hope you enjoyed this article and i hope it heled you through your process.Remeber, APIs can do much more complicated work with multiple models intersection and endpoints with more complex queries.
